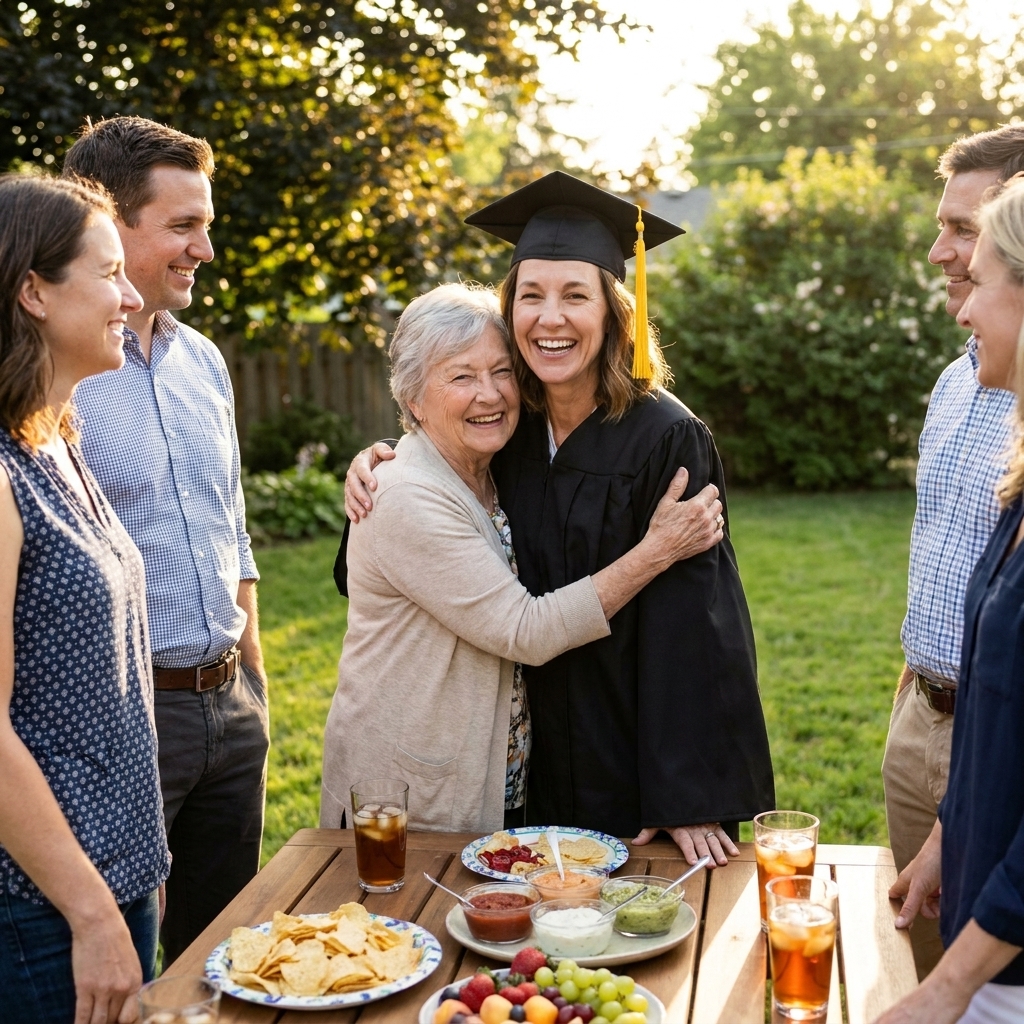
College graduation is one of those milestones that deserves to be witnessed. Not just “congrats” texted from afar, but real, in-the-same-room pride. And yes, you can host a celebration that feels joyful and personal even when your budget is tight. The secret is choosing a few high-impact details, skipping the rest, and remembering my favorite planning truth: connection is always more important than perfection.
Step 1: Set the budget and decide what matters most
Before you pick a theme or scroll one more “graduation party” board, decide what you are willing to spend total. Then choose your top three priorities. This keeps every decision simple and calm.
Pick your top three
- Food everyone will actually eat (even if it is simple)
- Comfort (enough seating, shade, and drinks)
- A meaningful moment (toasts, slideshow, advice cards, or a memory table)
Once you have your top three, everything else becomes optional. That is where savings live.
A simple budget breakdown
These are typical ranges for a home or park, open-house style party. Adjust up or down based on rentals, alcohol, and whether you are serving a full meal.
- Food and drink: 50 to 60%
- Rentals or supplies: 15 to 25%
- Decor: 10 to 15%
- Extras: 5 to 10% (printing, ice, disposable pans, last-minute runs)
Step 2: Choose a time, place, and guest list that saves money
One of your biggest cost levers is usually the number of people you invite. A smaller party often lets you serve better food, offer a more comfortable setup, and still stay on budget. (Depending on your choices, rentals and alcohol can also move the needle fast.)
Best budget-friendly formats
- Open house (2 to 3 hours): guests drop in, you serve snacky food, no plated meal needed
- Dessert and coffee: a short, sweet gathering that still feels celebratory
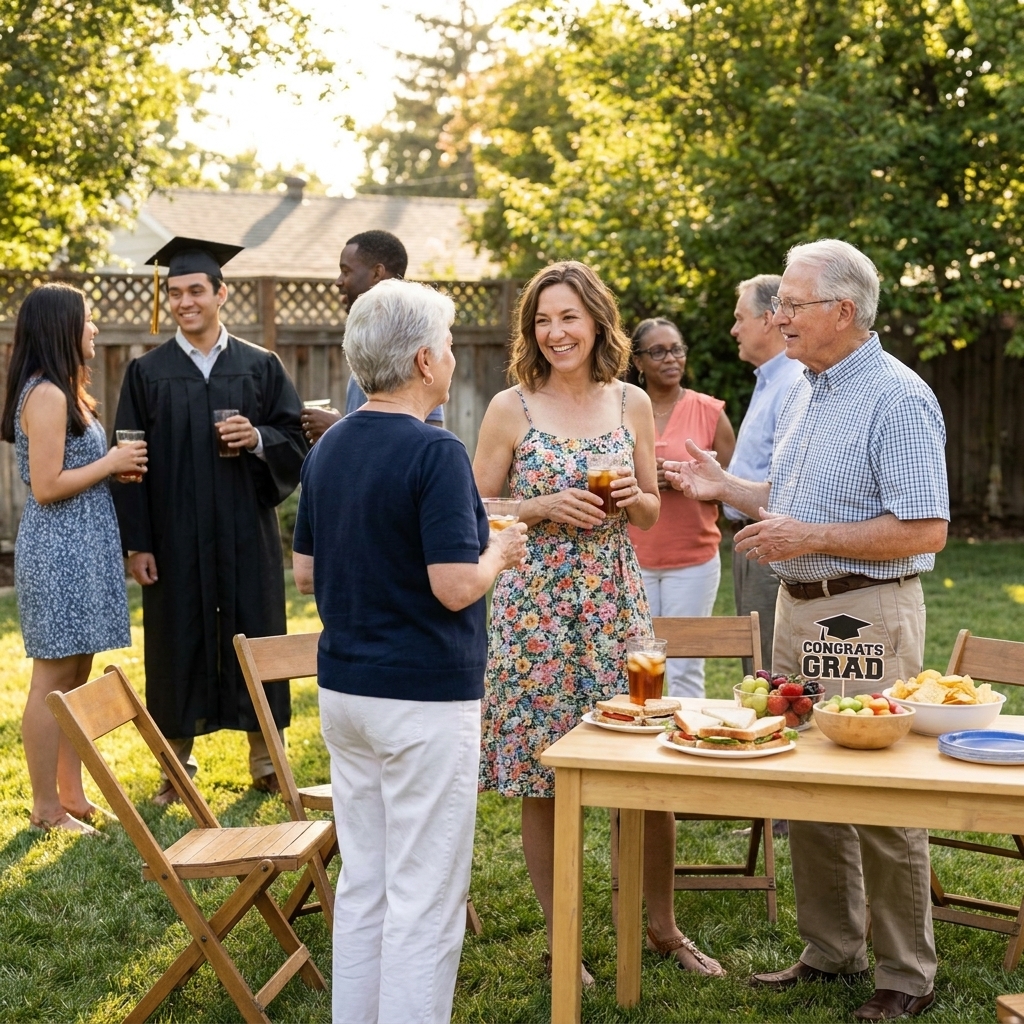
- Backyard or living room: free venue, built-in charm
- Park pavilion: often inexpensive and naturally spacious, just confirm permit rules
Timing tip
Host between meal times, like 2:00 to 4:30 pm. People will not expect a full meal, and you can focus on crowd-pleasing finger foods.
Step 3: Pick a smart theme
The most affordable parties are built around a theme that does not require specialty supplies. Think “color story” and a few intentional details, not a full-on production.
Three easy theme ideas
- School colors, but grown-up: neutral base (white, kraft, black) plus small pops of school colors
- Next Chapter: books as decor, library card-style advice cards, simple bookmarks as favors
- Hometown to horizons: display a map, add photos from childhood to campus to now
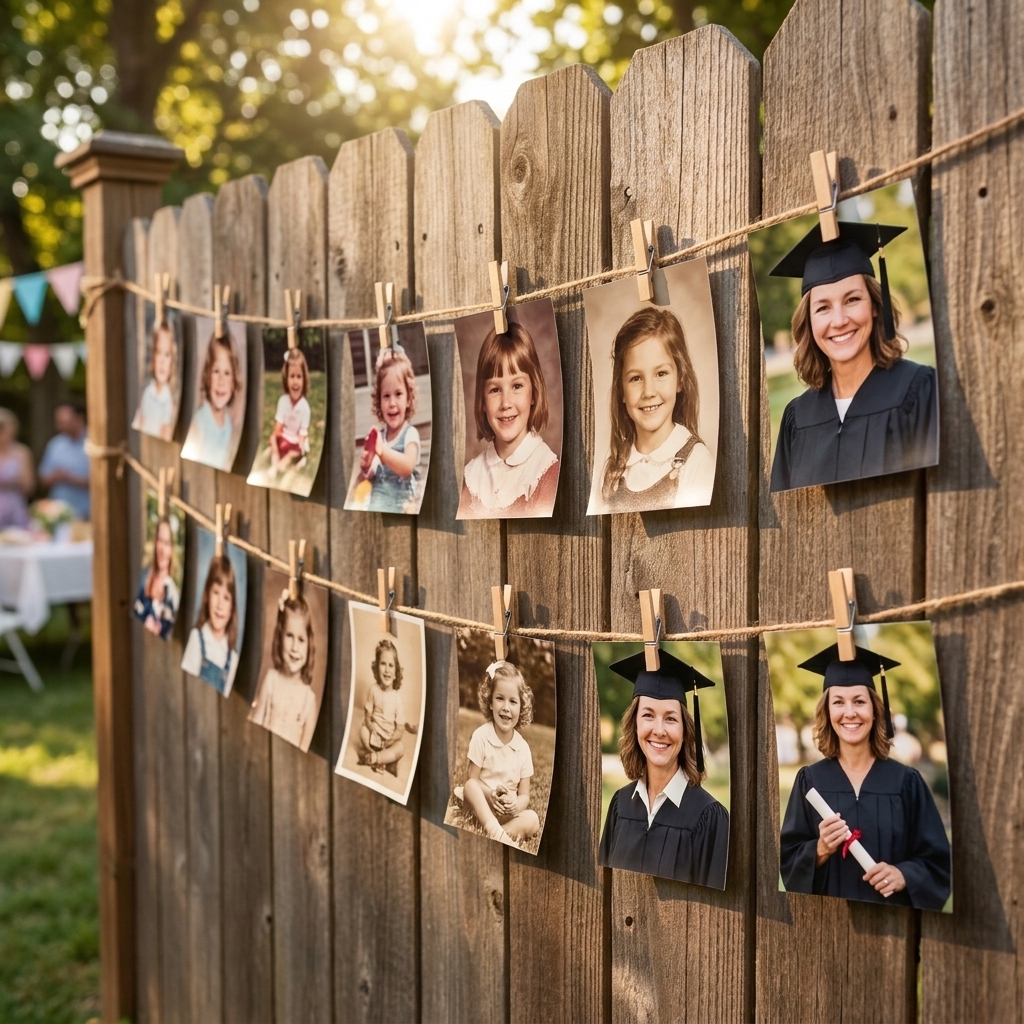
Choose one theme phrase and repeat it in three places only: a welcome sign, a dessert topper, and a small photo display. That is enough to feel cohesive without feeling costly.
Step 4: Send invitations
Digital invitations are your best friend here. They are fast, often free, and they solve the biggest planning headache: knowing how many people are coming.
What to include
- Date and time window (especially for an open house)
- Address and parking notes
- Dress vibe (casual backyard, come as you are)
- Any “bring” requests, if you do a potluck (be specific)
- Graduation details if guests want to ask about the ceremony
If you want one small printed touch, print a few photo cards for grandparents or keepsake people. You can keep everything else digital.
Step 5: DIY decor
Decor is where people tend to overspend trying to make it “look like a party.” Focus on three zones guests will naturally notice: the entry, the food table, and one photo moment.
Decor formula: repeat three things
- One surface: tablecloth, kraft paper runner, or a sheet you already own
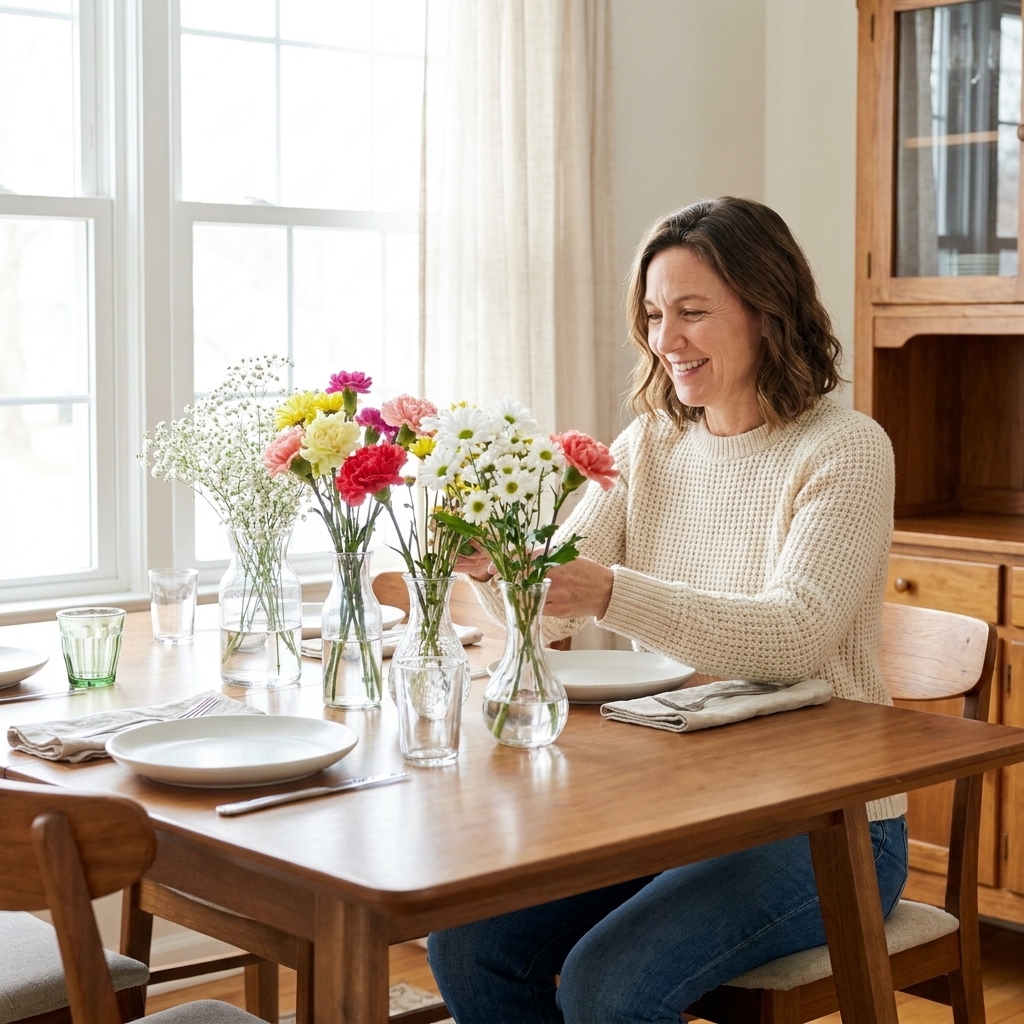
- One height: a few stacked books, upside-down bowls under platters, or thrifted vases
- One glow: string lights, candles in safe holders, or inexpensive LED tea lights
Affordable decor ideas
- Photo timeline: print 12 to 20 photos at a discount store and clip to twine with mini clothespins
- Proud of you station: index cards and pens in a jar, guests write notes for the grad to read later
- Diploma napkin wrap: roll napkins and tie with twine or ribbon you already have
- Balloon clusters: fewer balloons, grouped together, placed near the entry or dessert table
Step 6: Serve budget-friendly food
Graduation parties do not require catering to be memorable. They require food that is easy to serve, easy to eat standing up, and dependable. Plan for a snack-meal: one main that anchors the table, plus a second filling option (like a second protein or a hearty side), two lighter sides, and one sweet.
Three affordable menu styles
1) Build-your-own sandwich bar
- Deli rolls or sliced bread
- Two proteins (turkey and ham, or rotisserie chicken salad plus turkey)
- Cheese, lettuce, tomato, pickles
- Chips and a big salad
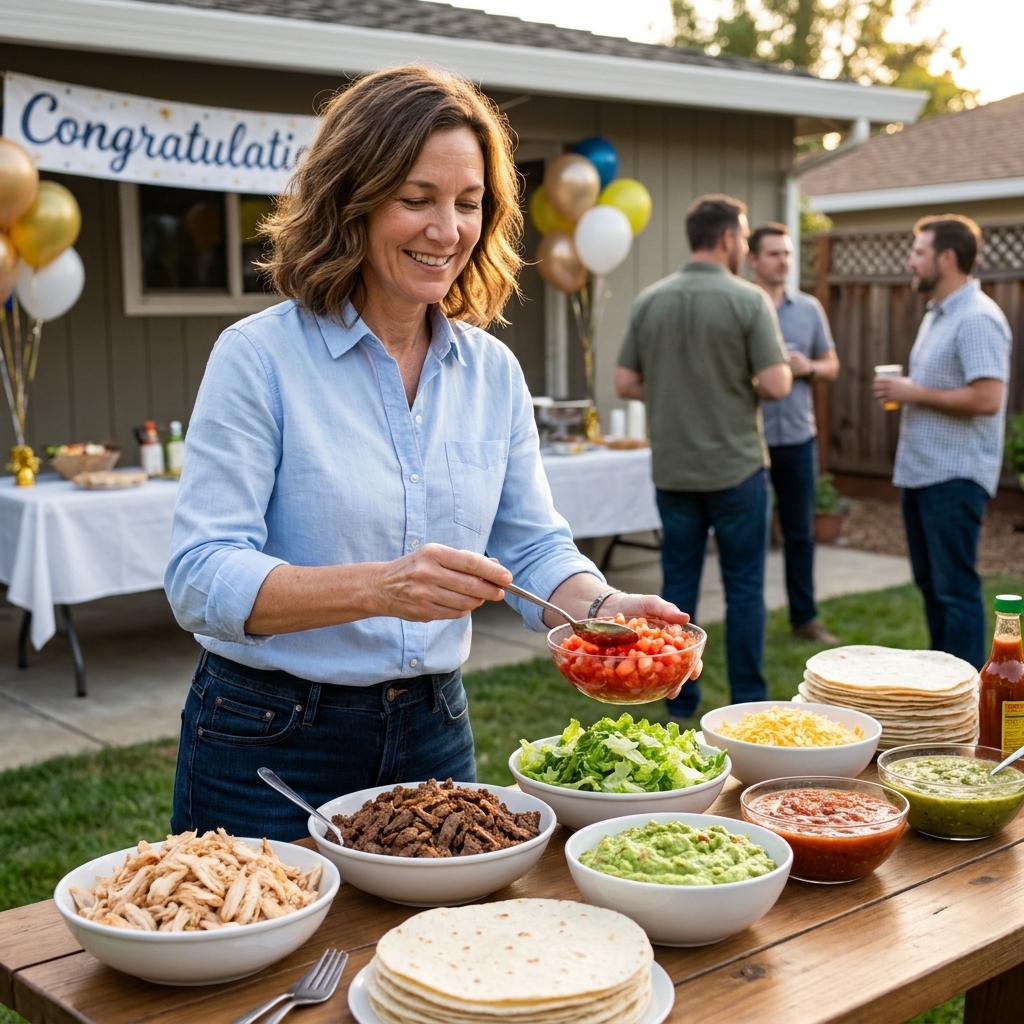
2) Taco bar
- Seasoned ground beef and/or black beans
- Tortillas and chips
- Salsa, shredded cheese, lettuce, sour cream
- Big bowl of fruit or a simple corn salad
3) Pasta and Caesar supper
- Two baked pastas (one meat, one vegetarian)
- Caesar salad kit upgraded with extra parmesan
- Garlic bread
Easy portion guide
For a 2 to 3 hour open house, people tend to graze. Use these as flexible starting points and adjust for time of day and your crowd.
- Sandwich bar: plan 1 to 1.5 sandwich portions per person (or 2 to 3 slider-size halves).
- Taco bar: plan 2 tacos per adult, 1 to 2 per child, plus chips and toppings.
- Pasta: plan about 1 cup pasta per person if it is the main, less if it is one option among many.
- Dessert: 1 piece per person, plus a little extra if you know your group loves sweets.
Smart money-saving tips planners swear by
- Buy beverages in bulk and serve in pitchers or drink dispensers
- Choose one dessert and make it count (sheet cake, cupcakes, or cookies)
- Skip single-serve packaging when you can. Large tubs and platters are cheaper
- Lean on store shortcuts like salad kits, fruit trays, and rotisserie chickens
Food safety, made simple
- Keep cold foods over ice and refresh it as it melts.
- Keep hot foods hot with slow cookers or chafing dishes if you have them.
- Put out smaller trays and refill from the fridge or cooler so food is not sitting out for hours.
Step 7: Plan one meaningful moment
The most memorable graduation parties are not remembered for the napkins. They are remembered for the feeling in the room. Plan one moment that helps people connect with the graduate.
Pick one
- A short toast: 2 to 3 people, kept under 3 minutes each
- Advice for the future: guests write a note for the graduate to open on their first day of work or grad school
- Memory jar: favorite “you did it” moments written on slips of paper
- Photo walk-through: a small table with a few meaningful items, like a childhood yearbook, a varsity letter, a favorite book, and the cap
My favorite budget-friendly upgrade is emotional, not financial: ask a couple of guests in advance to share one specific story about the graduate. Specific beats sentimental every time.
Step 8: Use a realistic timeline
The best budget hack is avoiding last-minute purchases caused by stress. Here is a calm, workable schedule.
Two weeks before
- Confirm guest count range and party format
- Choose menu and assign any potluck items
- Gather supplies you already have: coolers, pitchers, serving platters, folding chairs
One week before
- Finalize shopping list and buy shelf-stable items
- Print photos for the display
- Test a signature drink or mocktail if you want one
Two days before
- Buy groceries and make an ice plan (how many bags, where to store them)
- Prep any make-ahead items: pasta salad, cookie dough, taco meat seasoning mix
Party day
- Set up tables and seating first
- Decor second (entry, food table, photo spot)
- Food last, then a quick reset of the bathroom and trash bins
Step 9: Borrow, thrift, and rent
I love a good thrift find, especially for parties, because it adds charm without adding pressure.
What to borrow
- Folding chairs and extra coolers
- Serving platters, tongs, and pitchers
- String lights
What to thrift
- Vases and small trays
- Frames for a welcome sign or photo table
- Table linens if you need them (check for stains in good light)
What to rent (sometimes)
- A few extra tables if your home setup is tight
- A tent if you have no indoor backup and weather is unpredictable
Step 10: Keep it peaceful
Graduation can stir up a lot: pride, nostalgia, and sometimes stress. A little planning keeps the focus where it belongs.
Two gentle scripts
- If someone pushes for a bigger party: “We are keeping it simple so we can actually enjoy the day. What would you most like to contribute, food or a photo display?”
- If opinions multiply: “Thank you. We are going to decide by Friday so we can stop thinking about it and start celebrating.”
If the graduate is overwhelmed, assign them one fun job only, like choosing the playlist or picking the dessert. Let the rest be handled by the host team.
Quick checklist
- Guest list and party format (open house saves money)
- Menu built around one main plus a second filling option and easy sides
- One meaningful moment (toasts, advice cards, memory jar)
- Three decor zones (entry, food, photo moment)
- Borrowed chairs and serving pieces
- Beverage plan, ice, napkins, and a cleanup plan
- Outdoor comfort: shade, sunscreen, bug spray, and a rain plan
- Accessibility: a few sturdy seats with backs for older guests and a quieter corner for anyone who needs a break
FAQ
How much food do I need for a graduation open house?
For a 2 to 3 hour open house, plan lighter portions than a full meal. A solid starting point is 1 to 1.5 servings of your main per guest (like 1 to 1.5 sandwich portions or about 2 tacos per adult), plus 2 to 3 sides and one dessert. If you expect big appetites or a meal-time crowd, increase the main and simplify the sides.
How much should I plan for drinks and ice?
If you keep it simple, you can cover almost everyone with water plus one fun option. A good baseline is about 2 drinks per person per hour (more if it is hot out). Offer water, then add iced tea or lemonade. For ice, plan at least 1 pound per person for chilling, and more if you are filling coolers or it is a very warm day.
How do I celebrate without hosting at home?
Look for a park pavilion, a community room in an apartment complex, a church hall, or a local fire hall rental. Keep the setup simple and bring decor that packs flat: a banner, a photo string, and one centerpiece for the food table.
What is the cheapest way to make it feel graduation-themed?
Use photos, not props. A timeline of printed pictures, a framed copy of the graduation announcement, and the cap and gown hung neatly on a chair instantly tells the story without a cart full of supplies.
However you celebrate, I hope you let it be a little imperfect and deeply felt. Because the truth is, your graduate will not remember whether the cups matched. They will remember who showed up, what they heard in the toasts, and how it felt to be surrounded by people who believe in them.